Vegan Gluten Free Vanilla Cake
The best vegan cake, gluten free or not! This recipe is quick and easy to make, completely oil free but still moist, fluffy and undetectably vegan and gluten free! This vegan gluten free vanilla cake is perfect for a birthday party or just for a dessert.

I’m a vanilla cake with vanilla frosting kind of gal, but have to admit I was a bit nervous about taking on the task of a vegan gluten free cake.
It definitely wasn’t easy and required over 8 trials, but ohmygosh!! This vegan vanilla cake is incredibly moist, fluffy, full of fresh vanilla flavor and undetectably gluten free.
It’s oil free but still incredibly moist thanks to full fat coconut milk and almond flour which give the cake lots of fat to prevent it from drying out.
I played around with lots of different flour blends, but ultimately settled on a mix of almond, white rice and potato starch. These three yield a fluffy sponge that you will truly never know is gluten free or vegan!
This makes a two layer 8 or 9 inch cake, but you can also make in three 6 in pans. Try my vegan gluten free cinnamon rolls or vegan gluten free vanilla cupcakes next!
Before we get started…
- There are no flour swaps here! This blend of flours work together in a very particular way to create a traditional cake texture. Regular gluten free all purpose flour will not work here.
- It helps to sift your almond flour! Because of the higher fat content, it can get a little clumpy in the bag, so I suggest sifting before hand.
- If you want to make this a funfetti cake, you can add in 1/2 cup of sprinkles. The bake time will be a few minutes longer because of the added sugar.

How to make vegan gluten free vanilla cake
Preheat the oven to 350 degrees Fahrenheit. Line two 8 inch round cake pans with parchment paper and set aside.
In a large mixing bowl, whisk together the dry ingredients.
In a second bowl, whisk together the wet ingredients. Be sure to shake the can of coconut milk really well before measuring so the cream and watery part are well combined.

If your regular milk was in the fridge, measure it out and then add it to the microwave for about 30 seconds to warm it up a bit. If it’s cold, it will harden the coconut milk which will make mixing a bit difficult!
Add the dry ingredients to the wet ingredients and whisk to combine until smooth.
Finally, add the batter to the prepared pans, trying to keep them as even as possible. Let the batter sit in the pans for 5 minutes. This is not typical when making a cake, but it really helps with this recipe!
Bake until a toothpick comes out clean.

Let cool in the pans for 30 minutes, then flip onto a cooling rack. Peel off the parchment paper and let cool completely.
If you’re frosting the same day, I suggest sticking the cakes in the fridge for about an hour to really ensure they’re fully cool.
If you’re frosting the next day, let cool completely at room temperature (a few hours) then wrap tightly but gently in plastic wrap and let sit in the fridge.

Why did the center of the cake sink?
This could be due to a couple of things. Vegan gluten free cakes are tricky, but the center of this cake should not sink! If it does, it is likely because it was undercooked and the center wasn’t able to support itself.
The second reason could be because too much air was forced into the batter while mixing. This is why we will be mixing by hand, using just a whisk, instead of an electric mixer.
Baking this cake is a real goldilocks kind of thing, where overcooking and undercooking are both problematic, so keep a very close eye!

Frosting and decorating
To make the buttercream, add the room temperature butter to a bowl or bowl of a stand mixer and beat until creamy. Add the powdered sugar, one cup at a time, and beat until well combined.
Beat in the milk and vanilla until well combined. If you want a thicker frosting, just add a bit more sugar until it reaches your desired consistency.
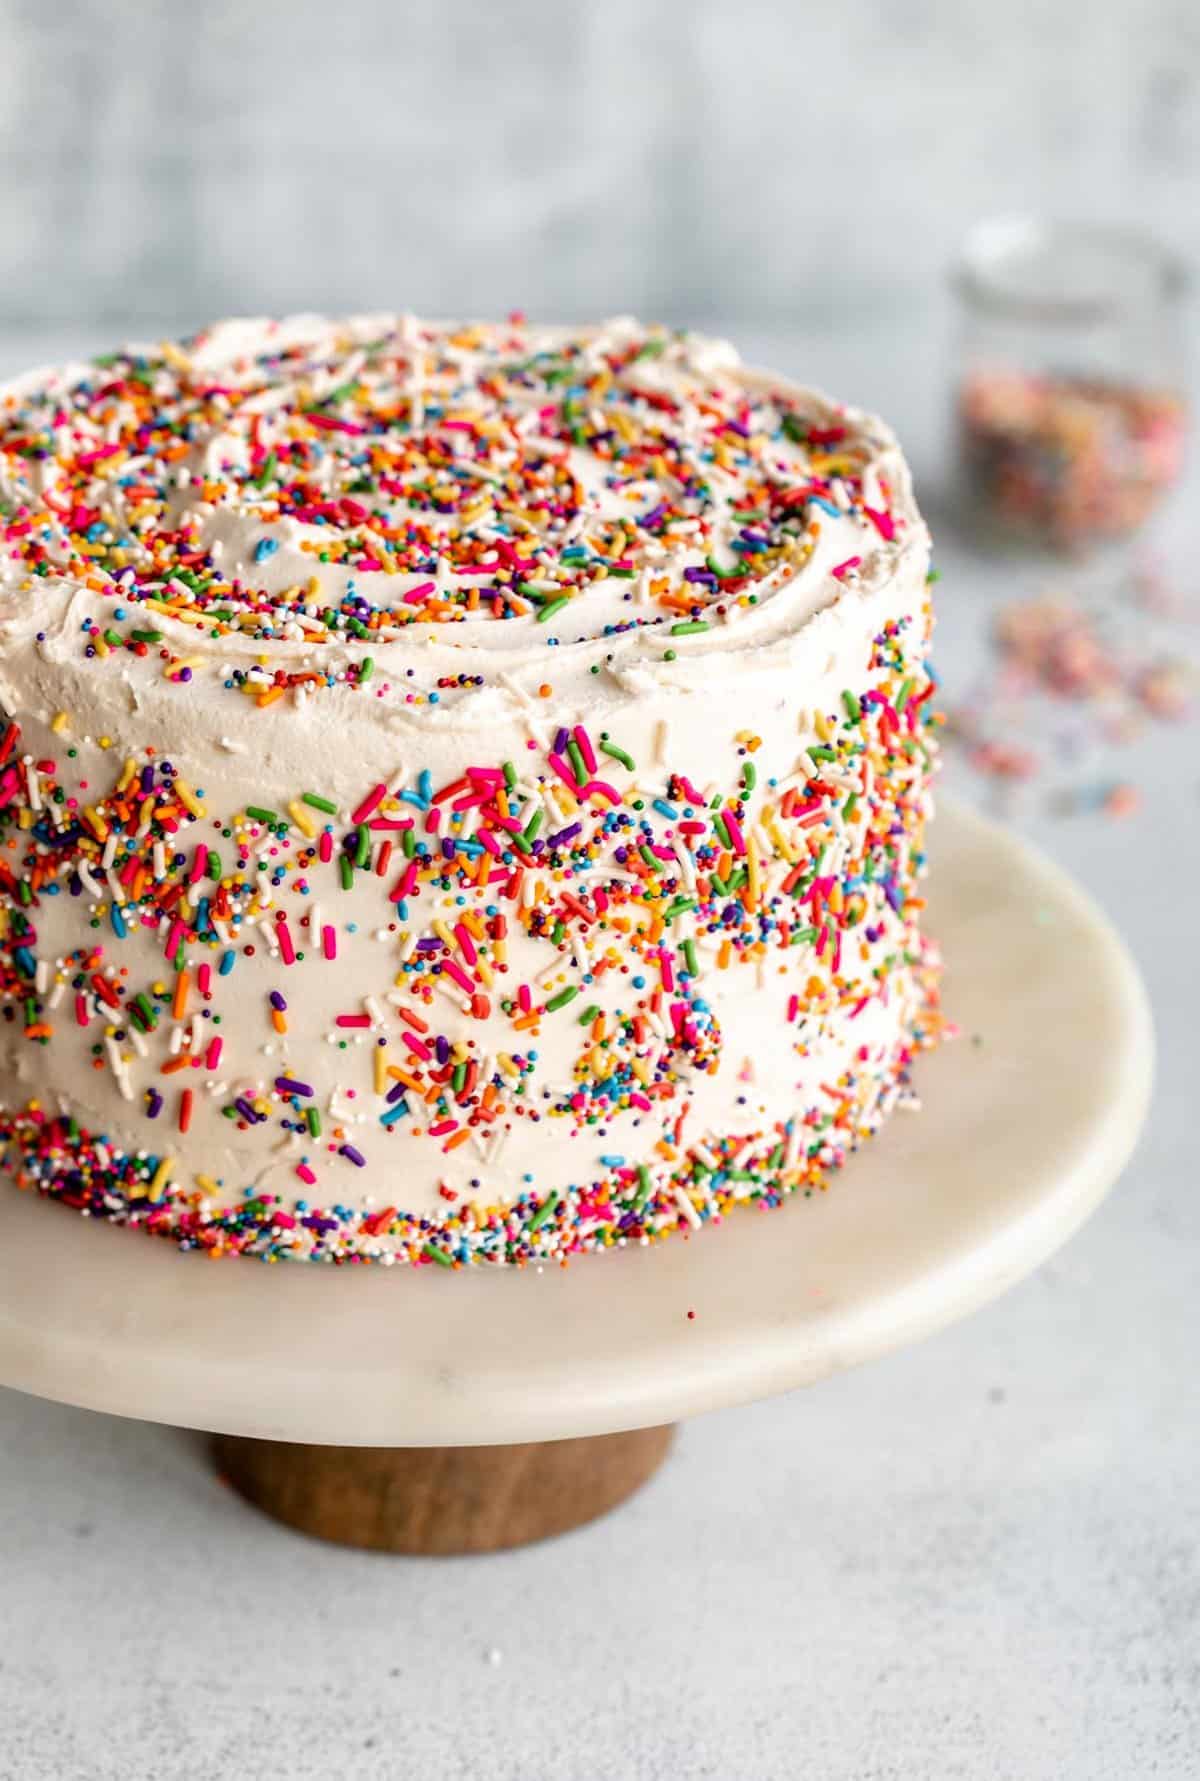
Add about 1 cup of frosting to the bottom layer, add a handful of sprinkles, top with the second layer, then frost the sides and top of the cake.
To add the sprinkles to the side of the cake, take a handful and carefully throw them add the sides of the cake while the frosting is still wet. If you let it dry, they won’t stick, so act quickly. I like to do this over a baking sheet to make clean up easier. It can get messy, but it’s worth it!

Can I use a different size cake pan?
Yes, you can use 9 inch cake pans but your layers will be a bit thinner and the bake time will be shorter. If you use two 9 inch pans rather than two 8 inch pans, just lower the bake time by about 5 minutes.
You can also bake this in three 6 inch cake pans, but increase the bake time by 5-15 minutes.

How to store and freeze
In the fridge: This vegan gluten free cake is definitely best fresh, but it will keep for up to 3-5 days. Once sliced, the cake will start to dry out a bit so it’s best to keep it in an air tight container to keep it moist!
The butter from the frosting does seep into the cake a bit, which will keep it very moist.
In the freezer: You can definitely prep this cake ahead of time and freeze the layers until you’re ready to bake. You’ll want to let the cake cool completely, then wrap each layer tightly in plastic wrap, place in a large ziplock bag and freeze for up to 2 weeks.
You can frost the cake from frozen, just be sure to let it sit at room temperature before serving. Alternatively, let it defrost in the fridge for 24 hours, then decorate as desired.

You’ll also love…
Lastly, if you want more recipes straight to your inbox, be sure to subscribe to my email list. If you make this recipe, be sure to tag me on instagram and leave a comment below!

Vegan Vanilla Funfetti Cake
by: claire cary
The best vegan cake, gluten free or not! This recipe is quick and easy to make, completely oil free but still moist, fluffy and undetectably vegan and gluten free! This funfetti cake is perfect for a birthday party or just for fun.
/ /
14
Instructions
Preheat the oven to 350 degrees Fahrenheit.
- Line two 8 inch round cake pans with parchment paper and set aside.
In a large mixing bowl, whisk together the dry ingredients. I suggest sifting the almond flour, it can get clumpy, but you should be ok with not sifting the others.
Be sure to spoon and level the dry ingredients into your measuring cups. Do not pack them in or the cake will be very dry!
In a second bowl, whisk together the wet ingredients. Be sure to shake the can of coconut milk really well before measuring so the cream and watery part are well combined. If your regular milk was in the fridge, measure it out and then add it to the microwave for about 30 seconds to warm it up a bit.
Add the dry ingredients to the wet ingredients and whisk to combine until smooth.
Add the batter to the prepared pans, trying to keep them as even as possible. Let the batter sit in the pans for 5 minutes. This is not typical when making a cake, but it really helps with this recipe!
Bake for 32-36 minutes or until a toothpick comes out clean and the center of each cake has a few cracks on the top.
Sometimes a toothpick comes out clean before the center is really done, so try to base it off how the top looks rather than the toothpick test. The color should be uniform and should not look wet at all in the center. All ovens are different, but check at 32 minutes and add just a couple of minutes at a time as needed.
Let cool in the pans for 30 minutes, then flip onto a cooling rack. Peel off the parchment paper and let cool completely.
If you’re frosting the same day, I suggest sticking the cakes in the fridge for about an hour to really ensure they’re fully cool. If you’re frosting the next day, let cool completely at room temperature (a few hours) then wrap tightly but gently in plastic wrap and let sit in the fridge.
To make the buttercream, add the room temperature butter to a bowl or bowl of a stand mixer and beat until creamy.
Add the powdered sugar, one cup at a time, and beat until well combined. Beat in the milk and vanilla until well combined. If you want a thicker frosting, just add a bit more sugar until it reaches your desired consistency.
Add about 1 cup of frosting to the bottom layer, add a handful of sprinkles if desired, top with the second layer, then frost the sides and top of the cake.
To add the sprinkles to the sides, take a handful and carefully throw them add the sides of the cake while the frosting is still wet. If you let it dry, they won’t stick, so act quickly. I like to do this over a baking sheet to make clean up easier. It can get messy, but worth it!
Notes
Be sure you’re using potato starch, NOT potato flour. They are different and will yield very different results.
Serving: 1slice / Calories: 427kcal / Carbohydrates: 62g / Protein: 7g / Fat: 20g / Saturated Fat: 5g / Fiber: 3g / Sugar: 34g


